
Once you have signed into the Call Simulator, you will see the User Admin menu option in the Call Simulator main navigation menu. The addition and deactivation of users are managed under the User Admin area. If you do not see User Admin as a menu option, it is likely your role and applicable permissions do not allow you to add or modify users in your tenant. Please check with your Trainer or Supervisor for further information regarding your assigned role. Please consult the following permissions matrix to determine the applicable role or roles your users will require. NOTE: A user may be assigned more than one role, as needed.

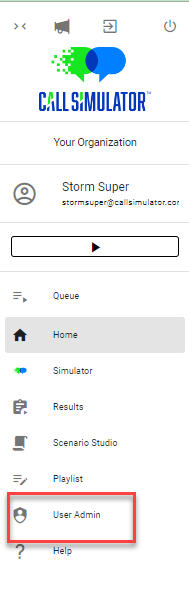
To access User Admin, click on User Admin from the menu options in the left-hand navigation menu:
Overview of the Directory
Upon clicking on User Admin in main navigation menu, you will be presented with the User Directory. You may filter the user directory by entering keywords in the Search Bar adjacent to additional User Admin controls:

All columns - Name, Username, Email, Verified, Active, and Contact - may be sorted in ascending or descending order by clicking on the arrow to the right of the column name. NOTE: Username is case-sensitive.
The Verified column indicates whether the user has completed the registration process by clicking on the corresponding link in their registration email. The green checkmark ( ) means the user has successfully verified their registration, and the red X (
 ) indicates the user has not completed registration.
The Active column indicates if a user is active within Call Simulator and has permission to log in.
The Contact column indicates if a user is a Primary Contact for your tenant. You may have multiple users marked as a Primary Contact. Primary Contacts are those users who are typically responsible for overall management of the deployment and usage of Call Simulator for your organization. Those users marked as Primary Contact will receive periodic announcements and updates regarding product releases and maintenance periods.
Directory Options
The User Admin controls ![]()
![]() located in the upper right of the Directory allow the user, with applicable permissions per their role, to do any of the following:
located in the upper right of the Directory allow the user, with applicable permissions per their role, to do any of the following:
- Import Users: clicking this option (
 ) will allow you to import a CSV file of users.
 - Export Users: clicking this option (
 ) will allow you to export a CSV file of all users.
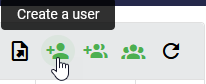
 - Create a User: clicking this option (
 ) will allow you to add a single user.
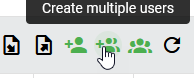
 - Create Multiple Users: clicking this option (
 ) will allow you to add multiple users simultaneously, all with the same role. NOTE: All users added through this option must be assigned the same role(s). These roles may be modified later if needed.
 - Switch to Group View: clicking this option (
 ) will allow you to access the User Groups page.
 - Refresh the Directory: clicking this option (
 ) will update the Directory data displayed on the table including changes you have recently made.
Create a Single User
Click on the Create a User (![]() ) button, located in the top right corner of the Directory table.
) button, located in the top right corner of the Directory table.
A window will pop up where you may fill out the applicable information for the new user. All fields must be completed. NOTE: Usernames are case-sensitive.

- Creating a Single User in this manner requires both a Username and Password.
- Please note, Call Simulator requires passwords to contain a minimum of 9 characters.
- If you create a Single User in this manner, you must communicate the username and password to the person for whom you created this new user.
- Email must be a unique email address for each user. You may not use an email address already associated with another user in your tenant.
- Organization ID is not a required field. However, this field is convenient if you wish to readily distinguish one user from another, such as in cases of common first name last name.
- At least one Role must be selected. See below for further information regarding each Role and associated permissions.
- Check the box next to Primary Point of Contact if this new user will be a Primary Contact for your organization regarding the usage of Call Simulator.
- Adding the new user to a User Group which you have previously established may also be done at this time, but this is not required.
- Below Email Notification, click on Immediate and then Register once you are satisfied with your new user details. You will then receive a confirmation message pop-up.
- Below Email Notification, click on Scheduled and then select the date and time you wish the user to receive the email notification. If you communicate the username and password to your newly-created user prior to the user receiving the email notification which you've scheduled, this new user will be able to login immediately.
- NOTE: Creating a user in this method requires you to communicate to the new user their password or instruct the new user to click on Forgot Password so they may select their own password. While the user will receive an email notification that they have been added to your Call Simulator tenant, that email notification will not include the password you assigned to them.
Create Multiple Users
Click on the Create Multiple Users (![]() ) button at the top right corner of the User Directory table.
) button at the top right corner of the User Directory table.
A window will pop up where you may create a batch of one or more users (also known as "accounts"). In this case, only an email address is required to create a new user. To create more than one, click on the plus sign (![]() ) button to the right of the email address field and you will be presented with additional empty fields to enter individual emails for additional users (one per row). Each user must have a unique email address. Duplicate email addresses are not supported in Call Simulator. As with adding a single user, you must select at least one role. However, all users created in this batch must all have the same role or roles. To create additional users of another role, you will need to register those users in another batch.
) button to the right of the email address field and you will be presented with additional empty fields to enter individual emails for additional users (one per row). Each user must have a unique email address. Duplicate email addresses are not supported in Call Simulator. As with adding a single user, you must select at least one role. However, all users created in this batch must all have the same role or roles. To create additional users of another role, you will need to register those users in another batch.
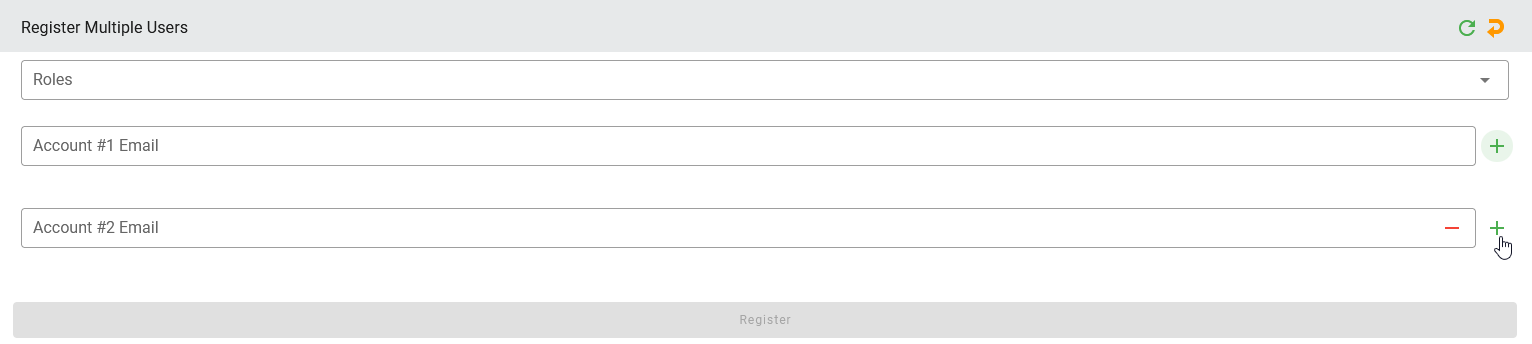
You may also add these users to a previously established User Group.
Below Email Notification, select if you wish these new users to receive an email notification right away by clicking on Immediate or at a Scheduled date and time. Once you have made this selection, click on Register.
You will then receive an on-screen confirmation message. Each user will receive an email from Support@CallSimulator.com, inviting them to complete their registration. Users added in this manner will be able to select their own username and password.
Viewing User Details
If you have a role with applicable permissions, you will be able to view any user's details by clicking on the down arrow ( ) at the end of any row in the user directory.

You will see various details regarding the specific user, including:
- User Name
- First Name and Last Name
- Verified indicator
- Creation By
- Creation Date
- Date Registration Email Scheduled
- Date Registration Email Sent
- Date Verified
- Organization ID
- Recording Acknowledged
- Primary Point of Contact
- User MFA
- Roles assigned to this user
- User Groups
- Deactivated
- Deactivated by
- Date Deactivated
If your own user role has the applicable permissions, you will also be able to Edit, Deactivate, or Reset Password by clicking on the applicable button. If you do not wish to proceed with any of these options, simply click on the up arrow (![]() ) at the top right to collapse the user's details.
) at the top right to collapse the user's details.
![]()
Edit or Modify User Details and Roles
To edit or modify a user's details and associated roles, within the User Directory, search for or navigate to the user you wish to modify, and expand the user details as illustrated earlier in this Knowledge Base article. Then, click on Edit.

Once you click Edit, the fields will change to allow editing of the user's general information. You will be able to change the email, first name, last name, organization ID, primary point of contact, roles, and user groups. Once you have made your edits, click Confirm to finish.

Bulk User Administration: Creating and Modifying Multiple Users
To create, modify, activate, and deactivate multiple users in bulk, click on the Export Users icon ( ![]() ) located in the top right corner of the User Admin page. This will download a CSV file of all users for your tenant. You may use this CSV file, saved to your local computer, to modify existing users as well as add additional users.
) located in the top right corner of the User Admin page. This will download a CSV file of all users for your tenant. You may use this CSV file, saved to your local computer, to modify existing users as well as add additional users.
Once you have made any additions or modifications to your CSV file, save your CSV file with an applicable name, where you may easily locate it, and then click on the Import Users icon ( ![]() ). Then, click on the paper clip icon to select your CSV file.
). Then, click on the paper clip icon to select your CSV file.

After selecting a valid user import CSV file, the import process will present a new pop-up, allowing you to confirm data for import. Each data row presented corresponds to a user, including the data associated with each user, such as email and roles. If a data row is matched to an existing user by having the same username and email address, then a modify action, activate action, or deactivate action may be performed during the import. If a data row appears to be a new user, due to a new email address, then a create action will be performed. Error conditions may include improperly formatted data or an incomplete match, such as where only email or only username match to an existing user, but not both. Error conditions are ignored and cannot be corrected in this view. Any data rows that match existing data fully, with no differences, are not listed in this view. Rather, it is assumed these users would not have any data updates from the import, so no action will be taken.
For any data that is shown in this view for create, modify, deactivate, or error conditions, there is an Edit option and a Remove/Delete option for that data row, prior to the third and final step (Apply Changes). The Edit option (pencil icon) allows you to make a final edit to the data before it is committed to the user database. The Remove option (x icon) allows you to remove the data row, effectively removing any related data updates from processing in the final step.
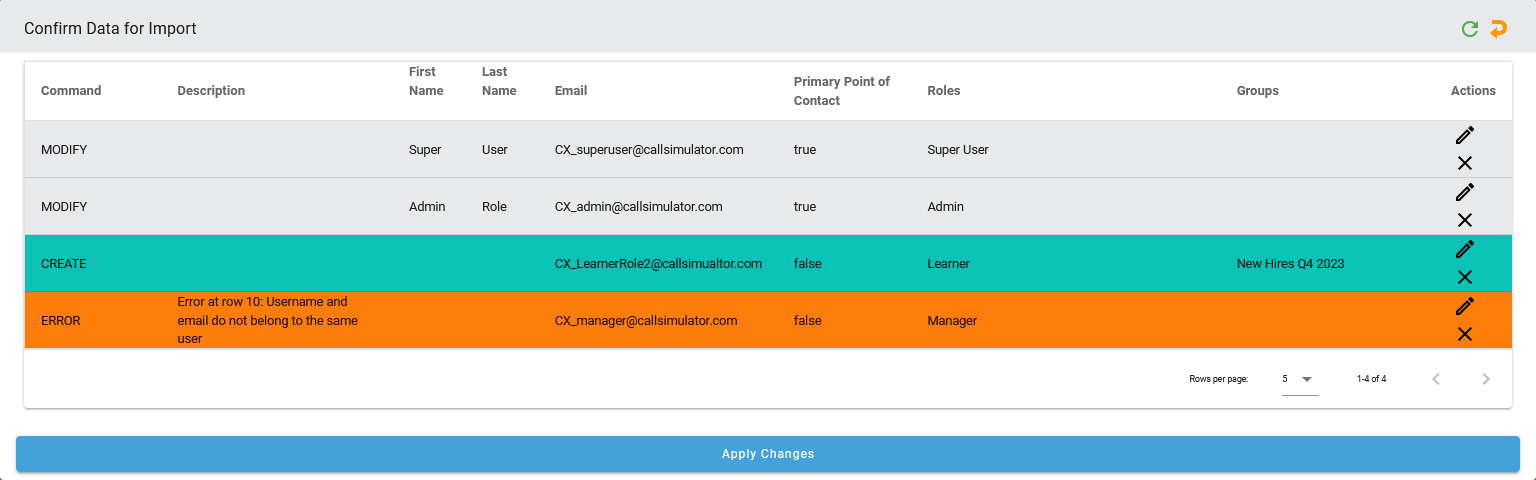
Once you are satisfied with your data for import, click on Apply Changes. You will receive an onscreen confirmation message stating that changes were applied.
Should you have any questions, please do not hesitate to reach out to us. You may do so either via email at support@callsimulator.com or via the chat widget.